Yesterday was a wonderful Saturday. Brandon and I and were both off work, which is a rare occurrence, so we enjoyed our time to the fullest. In the afternoon Brandon hung out with one of his friends for a couple of hours. His friend lives very near where I grew up so while Brandon was there, I got to go hang out with my parents. I enjoyed living with my parents and miss seeing them as much as I used to. Now, any chance I get to go and spend some time with them, I take full advantage of.
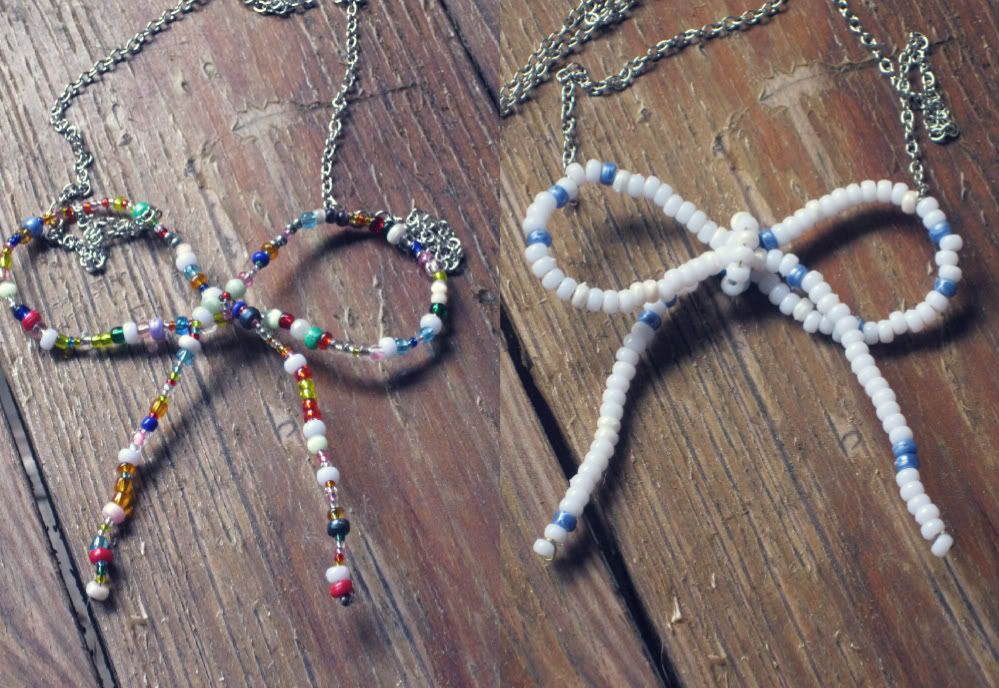
My mom is in the process of cleaning out my old room to make it into a sewing room so while I was there we went through some of my old stuff. The biggest job was going through a big drawer filled with all kinds of crap I'd stuff in it over the years. The crap in the drawer ranged from pictures and birthday cards to Happy Meal toys and jewelry. The best stuff we found were some old earrings missing their match and some old necklaces. Last night I set about putting those old earrings to good, and pretty, use.
I made a necklace, of course.
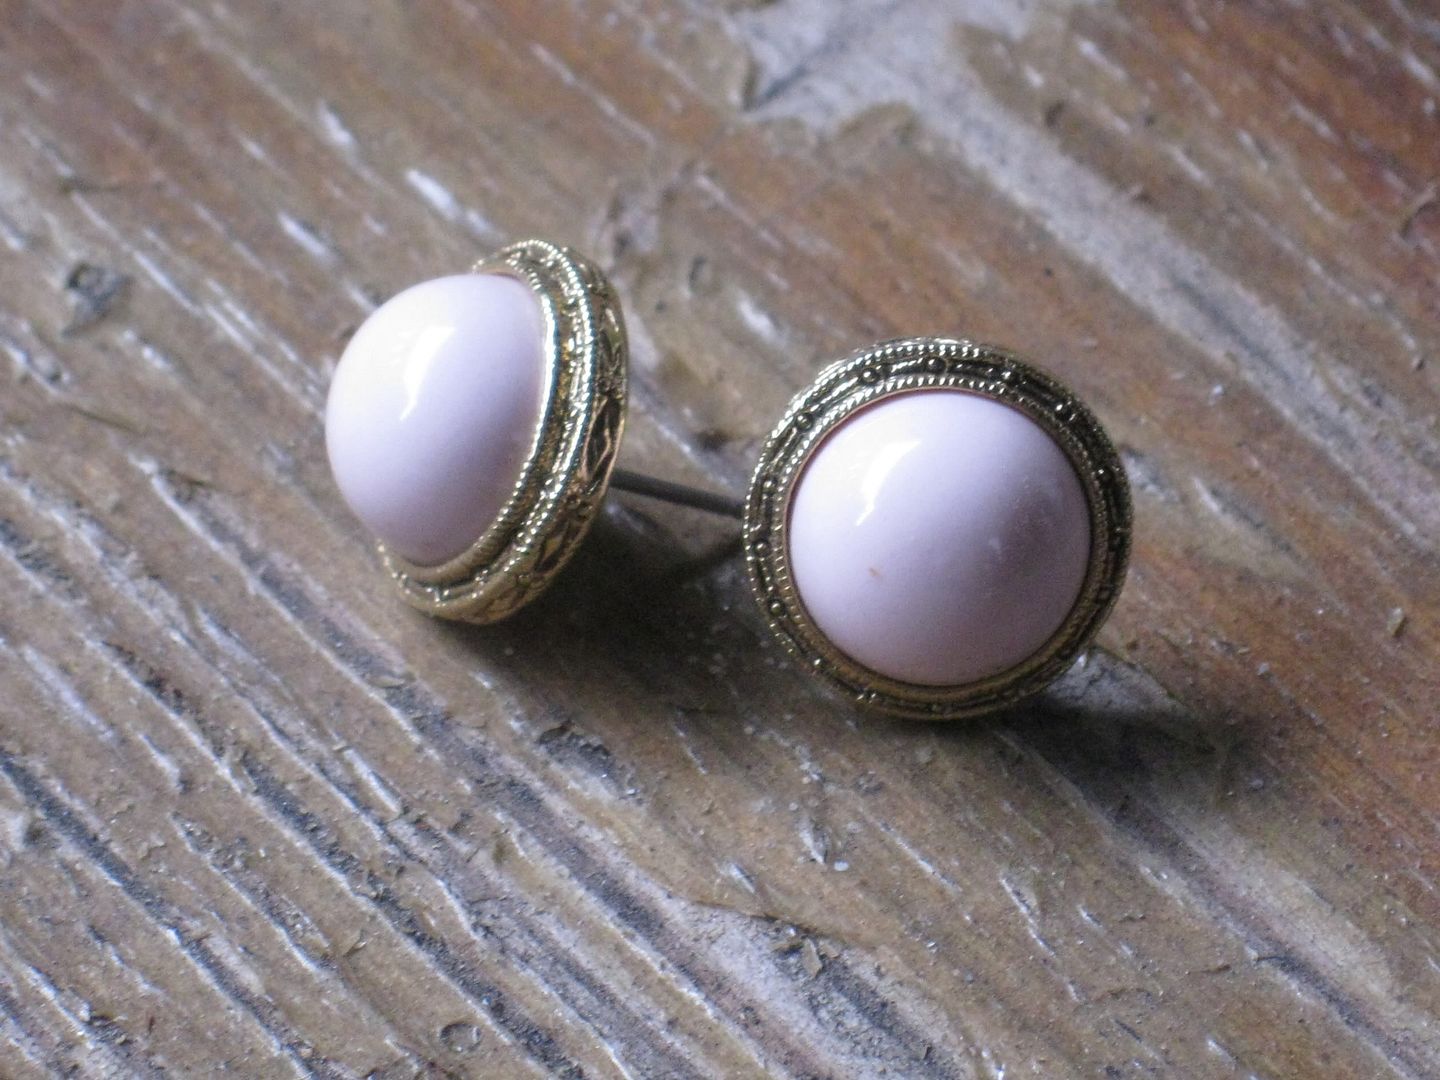
This is one of the old clip-on earrings we found. I used pliers to take the clip part off the back.
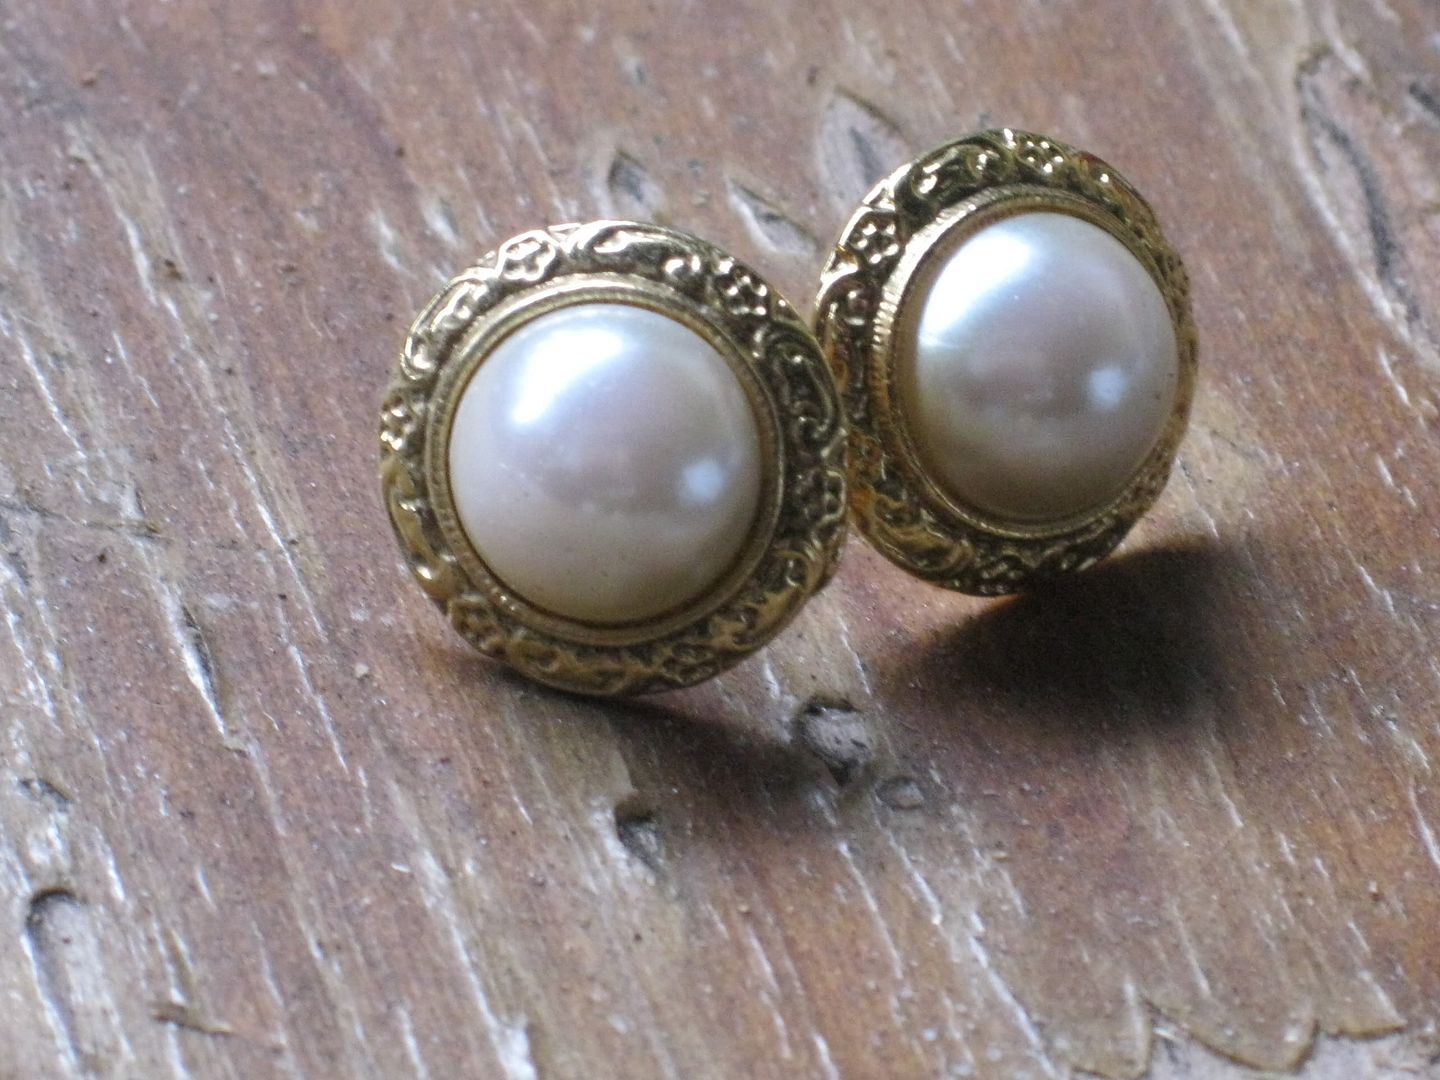
We also found this other pretty clip-on and I did the same to the back.
I used wire to attach the two earrings and some random beads to make a sort of collage.
I made sure the wire was secure, cut off the excess, and to keep it all together I cut out a little piece of cardboard from a cereal box and glued it on the back.
I used some super glue to attach a few more beads and a gold pearl earring to the front of the piece. While I was in the process of gluing, I somehow ended up with the super glue package glued to my leg. Removing the package was painful, but quick. I still have a huge spot of super glue on me though.
I added some chain from the craft store so I could hang my creation around my neck. I didn't have enough chain though, so I used ribbon to finish it off.
I like that it's eclectic and has some antique elements. Definitely can't wait for a reason to wear it.
I hope you all enjoy the rest of this weekend. I'm about to get to work on lesson plans.