Showing posts with label DIY. Show all posts

Sunday, July 29, 2012

Sharpie Decorated Mugs


   Yesterday we spent a relaxing and delicious day visiting my grandparents with my parents and my aunt and uncle and cousins. Hamburgers, hot dogs, baked beans, ice cream, cake, watching the Olympics, and spending time just enjoying each other's company on their big wrap around porch.
   We headed there to celebrate my grandparents' birthdays which are just a couple days apart. I made them Cinnamon Roll Cookie Bars, got them some coffee, and, after seeing this easy tutorial, decided to decorate a mug for each of them.
   I found the plain white mugs as the dollar store then I just decorated them with sharpies and baked them at 350 for 20-30 minutes. So simple and they were pretty thrilled with them :o)


Tuesday, February 7, 2012

DIY Heart Garland

   I love Valentine's Day. How 'bout you? I gotta say that even before I had a "Valentine" to spend the day with, I always enjoyed this heart-filled, pink, red and white, some-what-of-a "Hallmark holiday" holiday. I love the candy, the flowers, the cheap foil  cartoon character Valentines, and the pretty decorations. Growing-up my parents always made it special. My mom and dad always took my brother and I out to dinner with them then we came home and devoured some delicious dessert (usually chocolate) that my mom made, and exchanged Valentines. My mom and dad still have the cards made by my brother and I displayed proudly and I still cherish the ones they made for me. 
  So with this holiday that truly delights me only a week away, I figured this past weekend was a good time to craft up a quick little heart decoration. 


   I started with some pretty cardstock....

   And free-handed hearts on the back. Making a stencil and tracing it for everyone would have been too time-comsuming and too perfect.

   Then I cut them all out.

   I used my mini hole punch to put to little holes in each heart and threaded a big 'ole needles with some embroidery floss.

   Then I simply strung them along the floss. 


   I hope you all enjoyed this quick little tutorial. Have a really wonderful Wednesday!


Sunday, January 22, 2012

My DIY Moccasins

   Yesterday was a cold, rain drenched, gloomy day so after a morning meeting with a bride, all I really wanted to do was sit on our apartment in my pajamas and craft. So I did.
   I actually bought this moccasin kit a whiiile ago (It was super cheap since I used a 50% off coupon).


   I started assembling my moccasins as soon as I got home. It was a bit more complicated than I expected.

   To add interest I bought some suede in cord in a contrasting color.

   I'm in love with every single one of these moccasins so was hoping to recreate my own, on a much smaller budget. When I finished putting my moccasins together though, I ran completely out of steam and was totally uninspired.
   I guess it's because Valentine's Day is on it's way, I decided I wanted hearts an arrows on my shoes. Felt ones to be exact.

   I made stencils, cut them out, and used fabric glue to attach put it all together.


   I think they turned out pretty darn cute. I'm sure it'd look more attractive without my big heavy socks but it's COLD today. I'll most definitely don these for Valentines day...and many days in between :o)
Friday, December 23, 2011

Star Christmas Tree Ornament Tutorial

  This evening we had a delightful little Christmas get-together. It consisted of close friends, "Dirty Santa," the guys discussing video games while the girls and exchanged gifts, and a plethora of delicious food. I had a such a wonderful time that I didn't take any pictures so, no pics to share with you all :o(
  I do, however, have a Christmas tree ornament tutorial to share that's easy and perfect for a last minute gift.


Start with some pretty and sturdy scrapbook paper. I'm not into scrapbooking, but I love using the beautiful paper for different projects.

Draw and cut out one star, then use it to trace many more on the back of the scrapbook paper. 

Cut the stars out.

Use scissors to make two slits like so.

Thread the ribbon through so you have a nice loop on the back for hanging your ornament.

Tie the ribbon in a bow. 

   Pretty huh? And wasn't it easy? I made a pile of them the other day while watching Hulu and now have a quite a few Christmas presents taken care of. Please tell me I'm not the only one still not done with my shopping. I'm planning to brave the mall tomorrow...wish me luck!


Saturday, December 10, 2011

DIY Christmas Gifts

   So, I finally got some Christmas shopping done today. It took me a little under and hour and four stores. Yeah, I'm pretty speedy. Almost all the gifts I have left are the ones I want to make. Here are some really great DIY gift ideas I found and might be using...

These velvet ribbon bookmarks are so lovely. 

These monogrammed mugs are very cool. 

I'd be delighted to receive a jar of all the ingredients I need for delicious cookies. 

This s'mores kit is adorable. 

These printed candles are pretty and simple. 

Wouldn't you feel special receiving tea bags made just for you?

This bath scrub sounds so luxurious.


   Are you making any gifts this year???

Wednesday, November 9, 2011

DIY Tin Can Luminaries

The other day when we had our friends over for my belated birthday party, I made some luminaries to add a pretty glow to the table. 


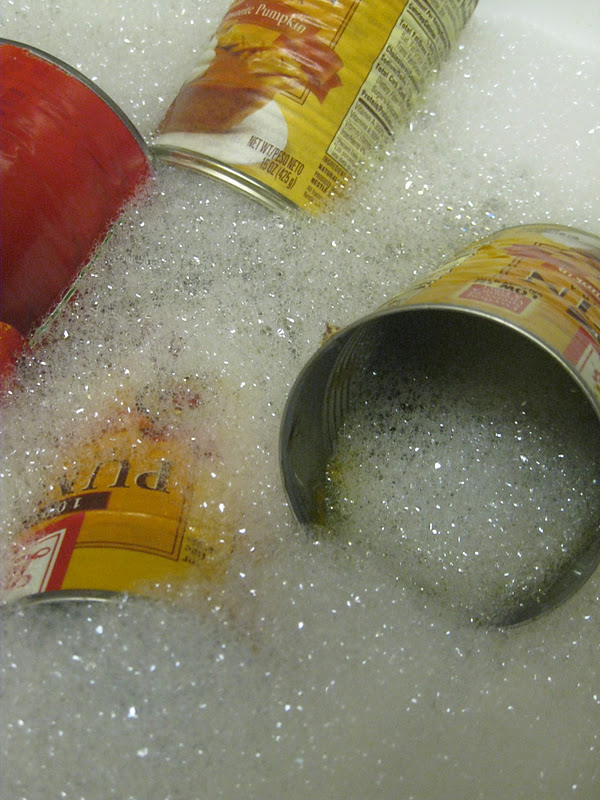
To make some of your own....First soak your cans in some sudsy water to get rid of all the stuck on food and to easily coax of the labels. 

Fill the cans with water and place them in the freezer until the ice is frozen. When the're frozen solid lay the one you want to beautify on a towel to keep it from rolling and soak up the melting ice and use a hammer to hammer a nail into to make a lovely design. 

Let them dry out and then add a candle for a little ambiance. Foe a hanging luminary, just add some wire to the top. 


Tuesday, August 9, 2011

DIY Fabric Scrap Garland

   Like I said in today's Enchantment Tuesday, inspiration has finally smacked me in the face and I have some ideas for upcoming projects. This morning I used my fabric scraps to make some pretty garland.


   For this garland I gathered a small list of supplies:
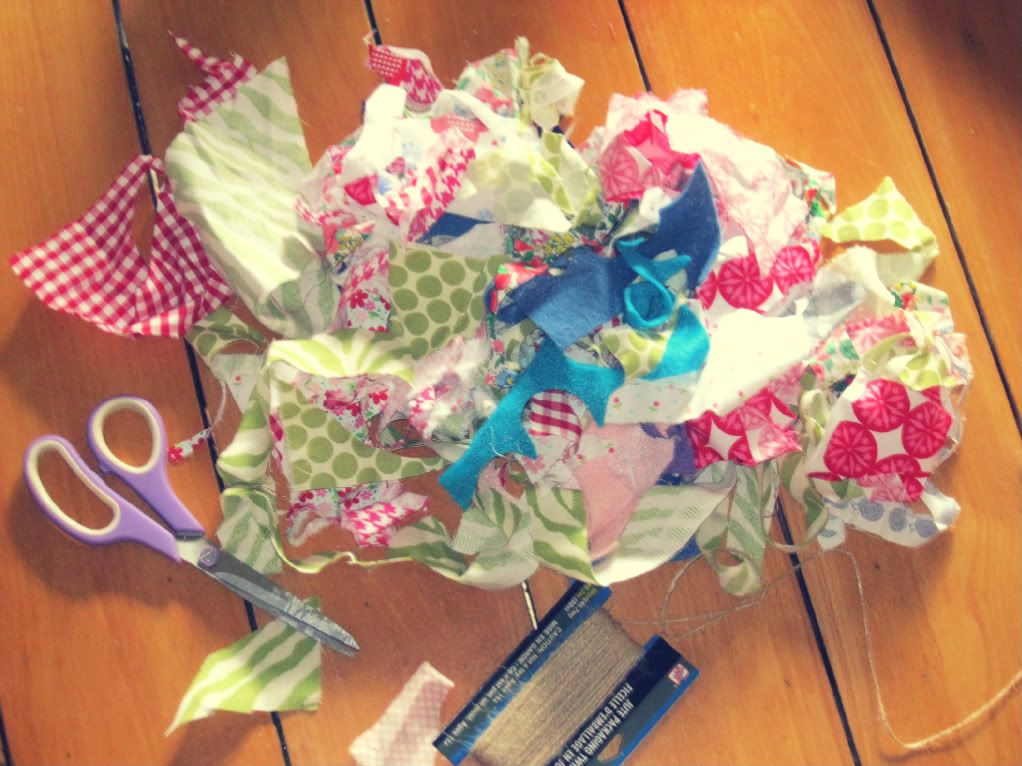
Fabric scraps
Twine
Scissors

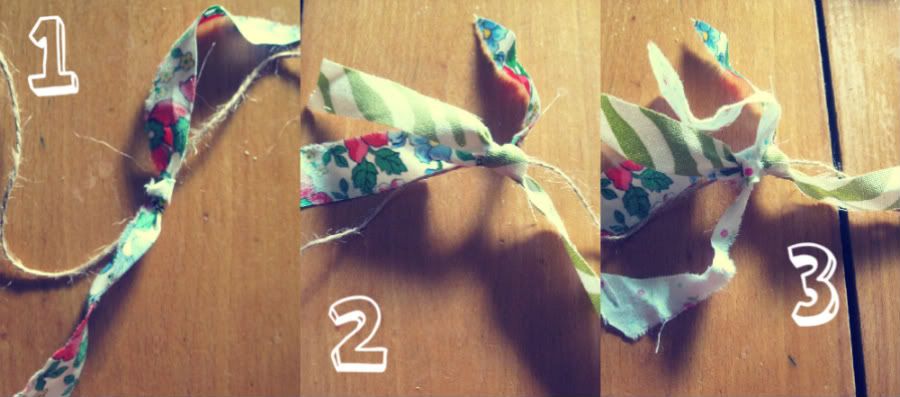
   First I cut the fabric into strips, then I simply tied a strip around the twine, then another on top of that knot, and another.

   After I had done these three steps over and over...

   I ended up with some festive garland.


Wednesday, July 20, 2011

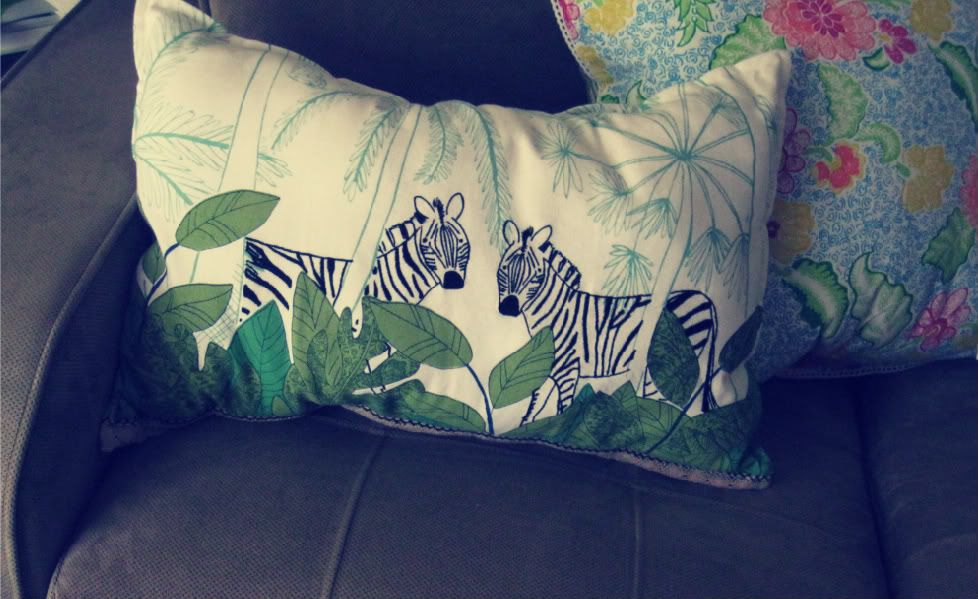
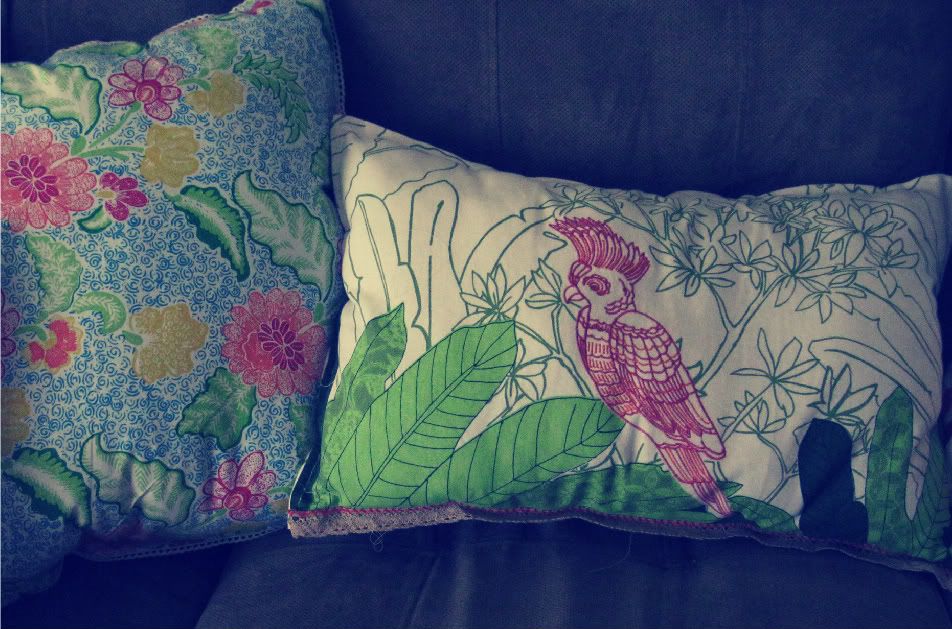
Dish Towel Pillows

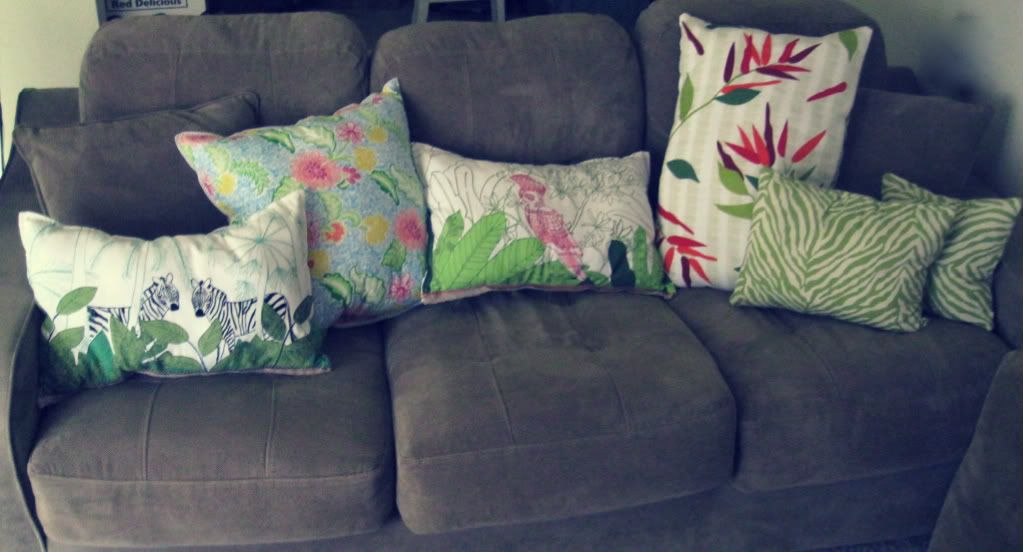
  Like I said the other day, I spent a lot of time at my parents' house Saturday sewing some pretty pillows to make our little apartment a bit more cozy and special looking. My mom was nearby all day for whenever I wailed "Oh nooooo I messed up again! " I hadn't sewed in a long time so I was more than rusty.


I started out with two dishtowels and a cloth napkin I found on clearance at Anthropology, a dishtowel I found at TJ Maxx, and some fabulous green and white leopard print fabric. 

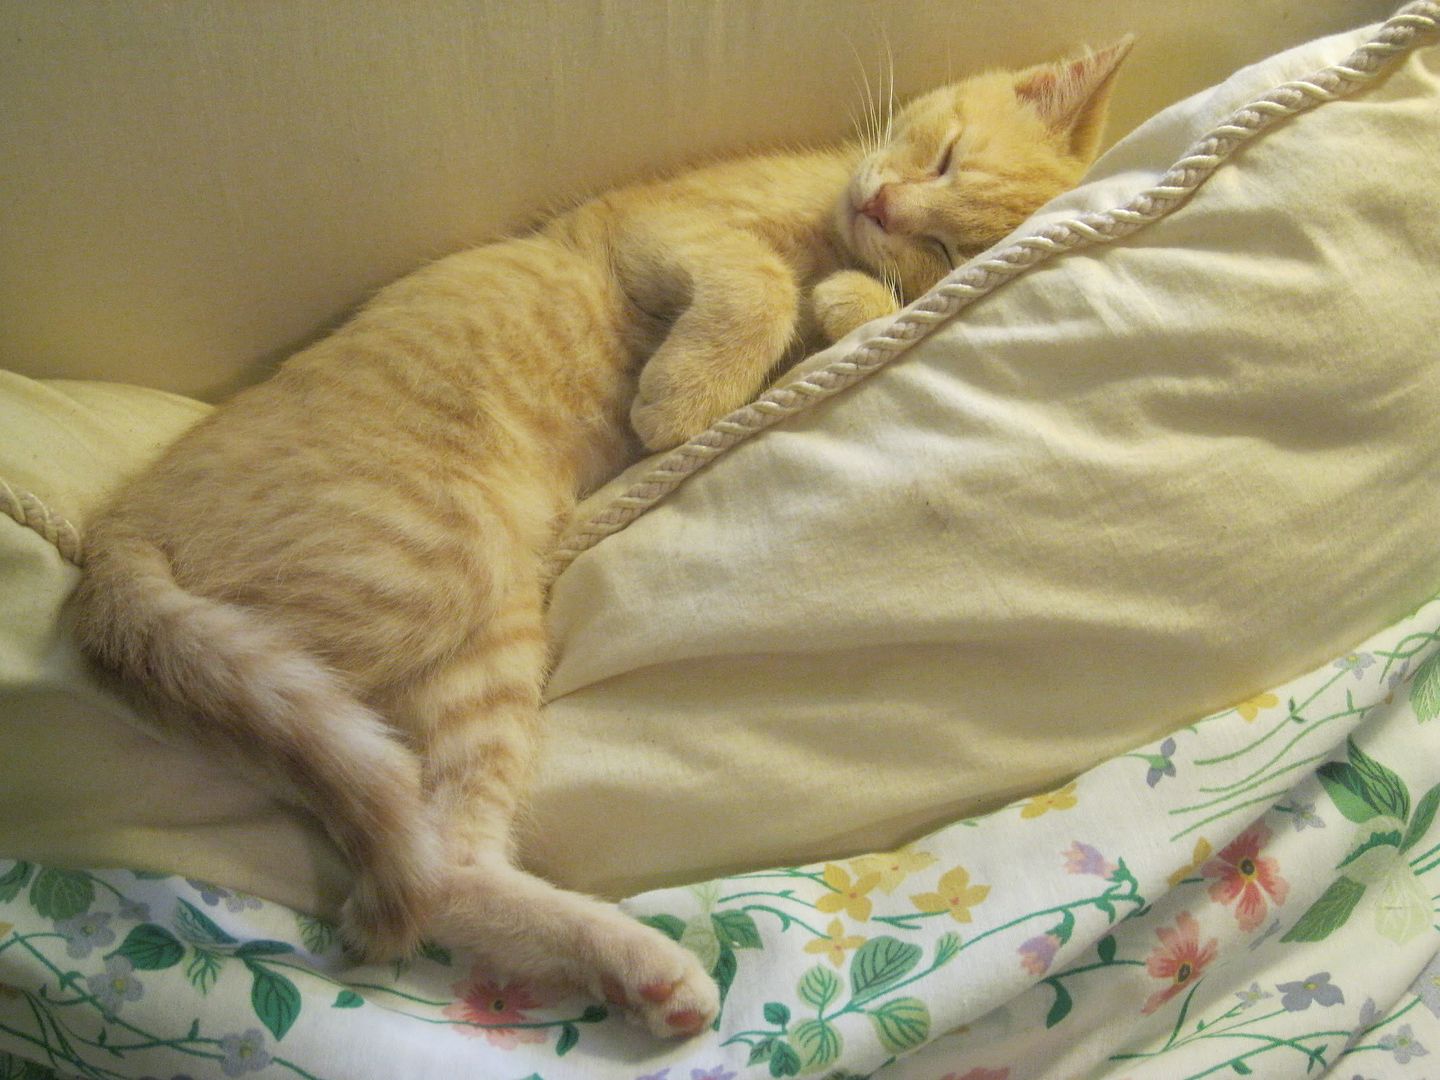
I had some company while I sewed. This is when he was being sweet and not jumping on and chasing the fabric I was sewing. 

Brandons reaction to the new pillows was, "What are those and why are they here?" I like them though. They add lots of color to our tan couch and although he still says they're a little weird, I've definitely caught brandon using them to rest his head on.