Showing posts with label Party Food. Show all posts

Saturday, February 18, 2012

Caramel Corn

   Last night I made caramel corn. I've been wanting to try my hand at making some for a while and I had some lucky recipients in mind...
   I started by popping lots of popcorn, enough to make a mound on a wax paper-covered baking sheet.


For the caramel I used this recipe and tweaked it a bit. It's pretty simple.
Ingredients
1 cup butter
2 cups sugar
1/2 cup corn syrup 
1 teaspoon salt
1/2 teaspoon baking soda
1 teaspoon vanilla extract

Melt the butter in a saucepan then add sugar, corn syrup, and salt and bring to a boil while stirring.


Boil without stirring for four minutes.


Pour over the popcorn and back at 250 for about 30 minutes, stirring every 10 minutes or so. 


You can then break it apart and partake of it or you can take it a step further by drizzling melted chocolate all over.


Sunday, December 11, 2011

White Chocolate Dipped Candy Canes

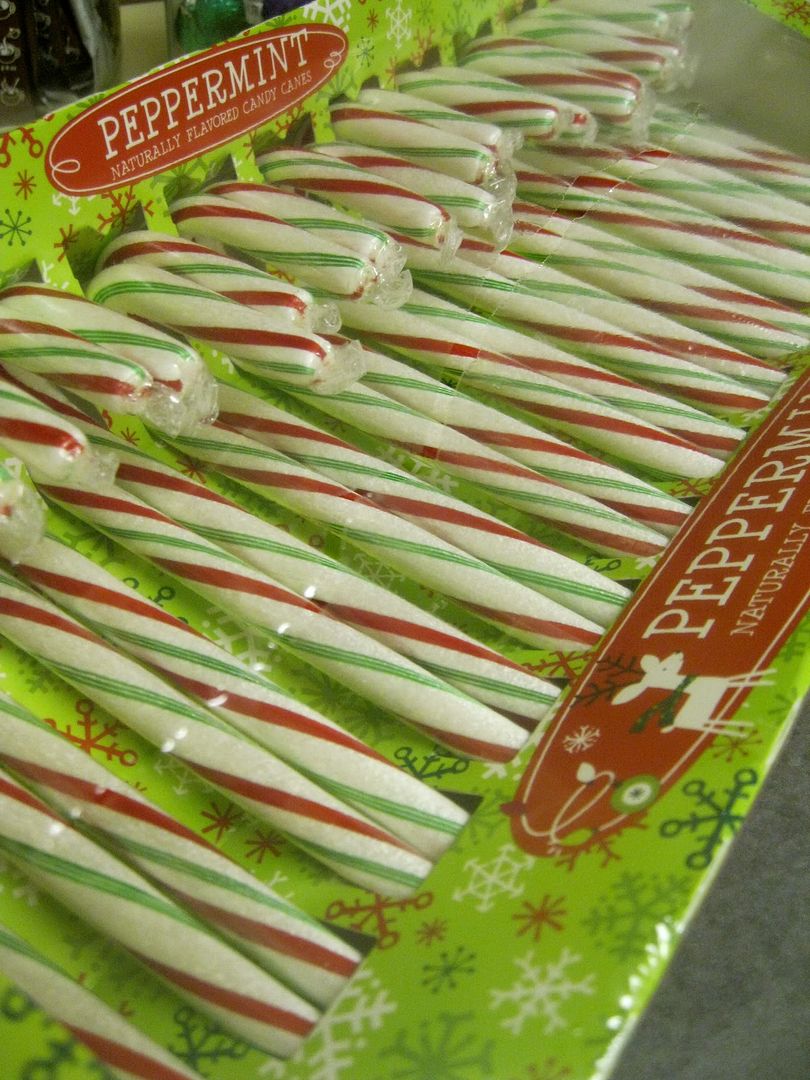
   Today was a very productive day. It consisted of church, cleaning, baking, baking, and more baking. Last year I made hardly any Christmas cookies and gave away none so, I'm making up for it this year. Yesterday I made some delicious treats I thought I'd share with you today: White Chocolate dipped Candy Canes!


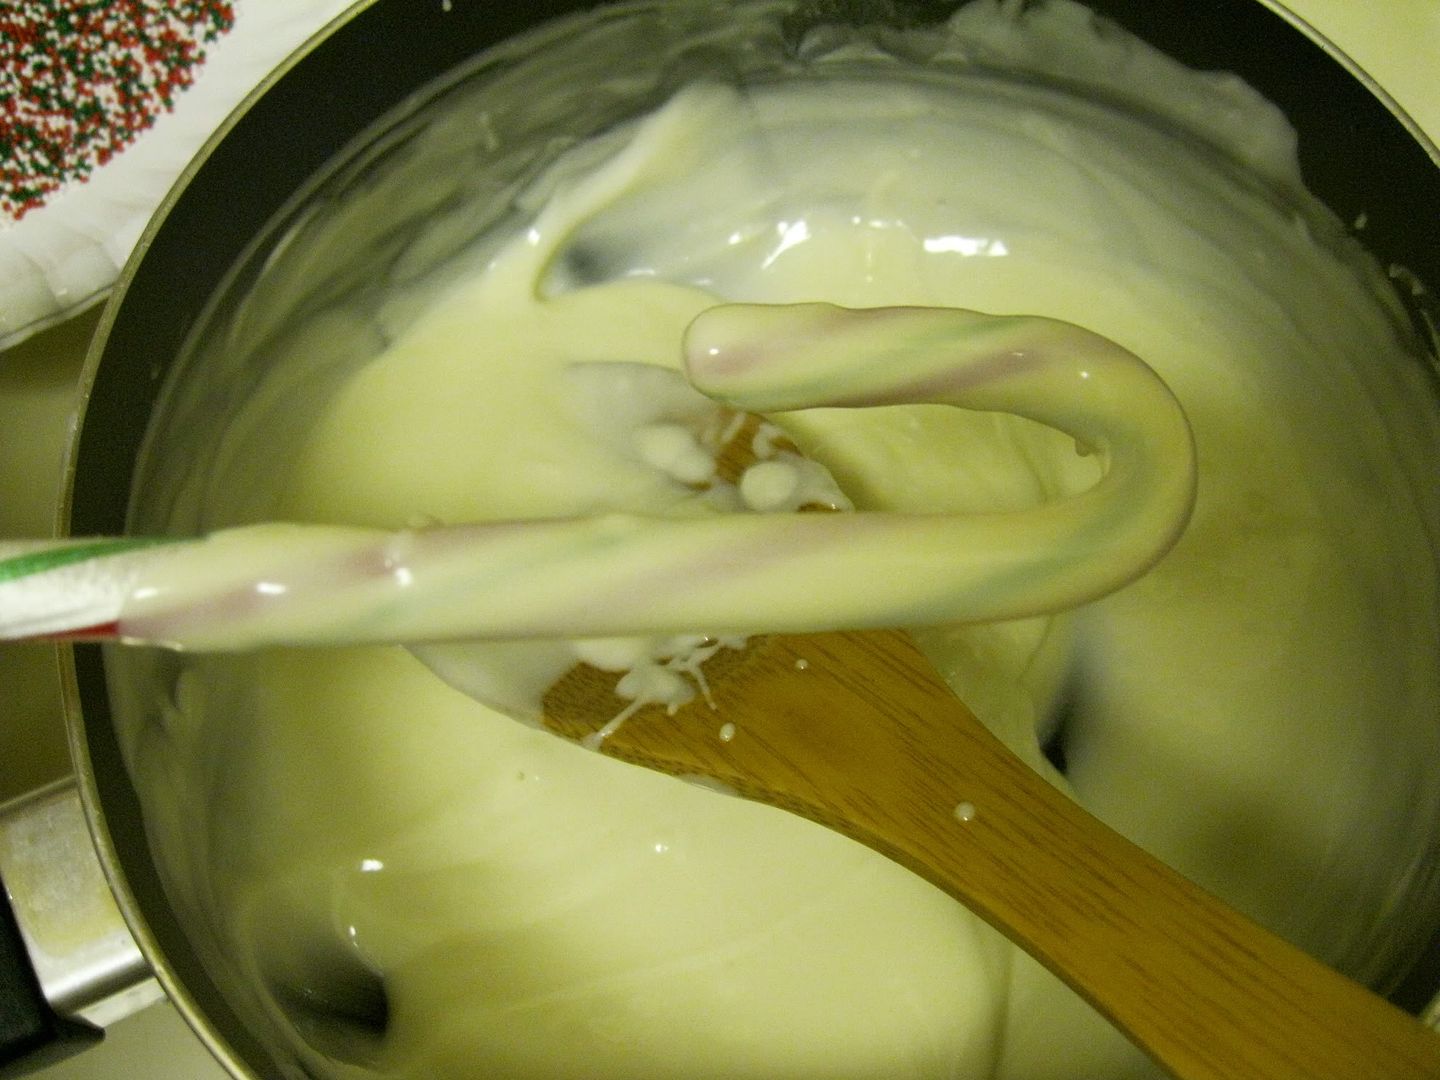
Step 1: Dip in melted White chocolate

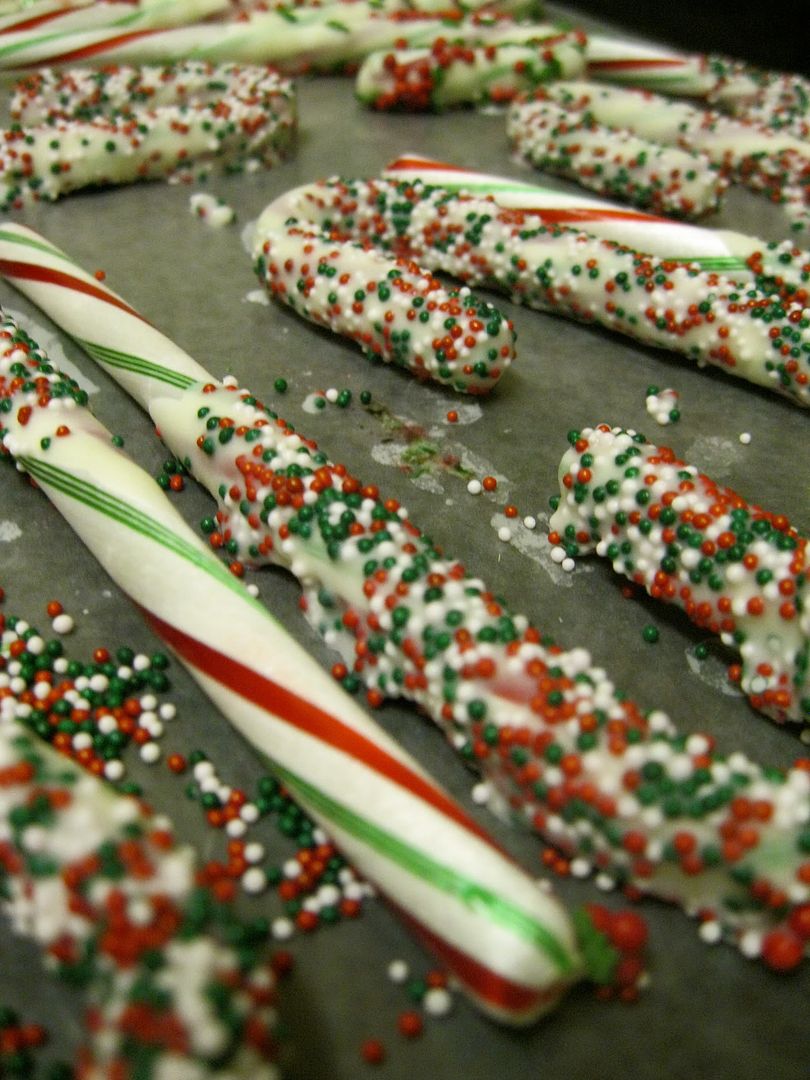
Step 3: Sprinkle with Christmas sprinkles
Step 4: Lay on wax paper to cool

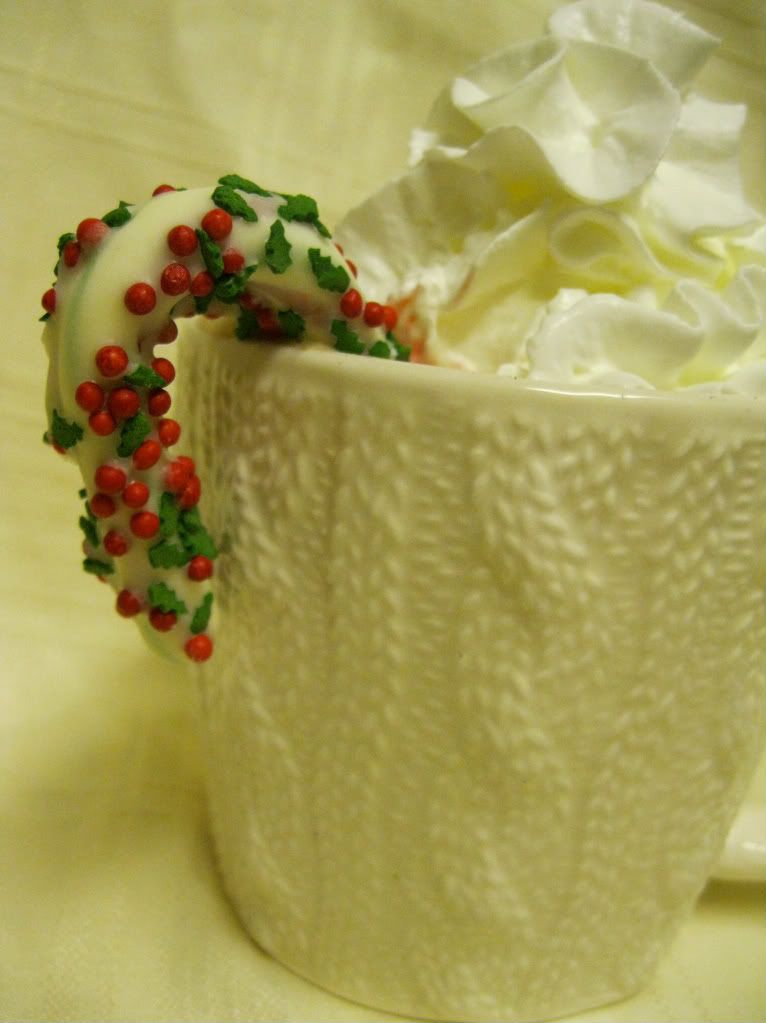
Step 5: Enjoy one in a mug of hot chocolate, nibble on one with a glass of milk, or simultaneously shove three in your mouth like a glutton. I vote for the latter :o)

I hope you all had a really wonderful Weekend. Thirteen days 'til Christmas!


Wednesday, November 23, 2011

Thanksgiving Cake Balls-Take Two

   Some of you might remember that last year I made cake balls for the first time. I also swore I'd never make them again but, Brandon requested them, and I'm apparently a glutton for punishment.
   This year I used a Spice Cake cake mix and my favorite butter cream frosting recipe. I crumbled the cake, mixed it with the frostings, rolled it in balls, put it all in the freezer, then dipped them each delicious ball in chocolate.  These look festive I suppose and they are fantastically yummy so....perhaps I'll start making cake balls every Thanksgiving. My patience can't take more than that though :o)


Have a wonderful "turkey day" friends!
We have so very much to be thankful for.


Sunday, October 16, 2011

From my little kitchen: Super Easy Cheeseball

   Well, I hope you're all having a beautiful Sunday. It's a cool and very sunny day here. I noticed while riding my bike this morning that the leaves are a changin'! Tomorrow it's back to work so I'm planning to enjoy today to the fullest which in my world means Sheetz coffee with Brandon, Target, and the gym. 
   This school year has been extremely tough so far due some certain circumstances and I really haven't felt this discouraged and miserable in a while. God is so good though isn't He? I'm trying to trust that He's going to get me through and praying hard that I can make it until Thanksgiving, then Christmas, and finally to June. Prayers are very, very welcome and appreciated :o)
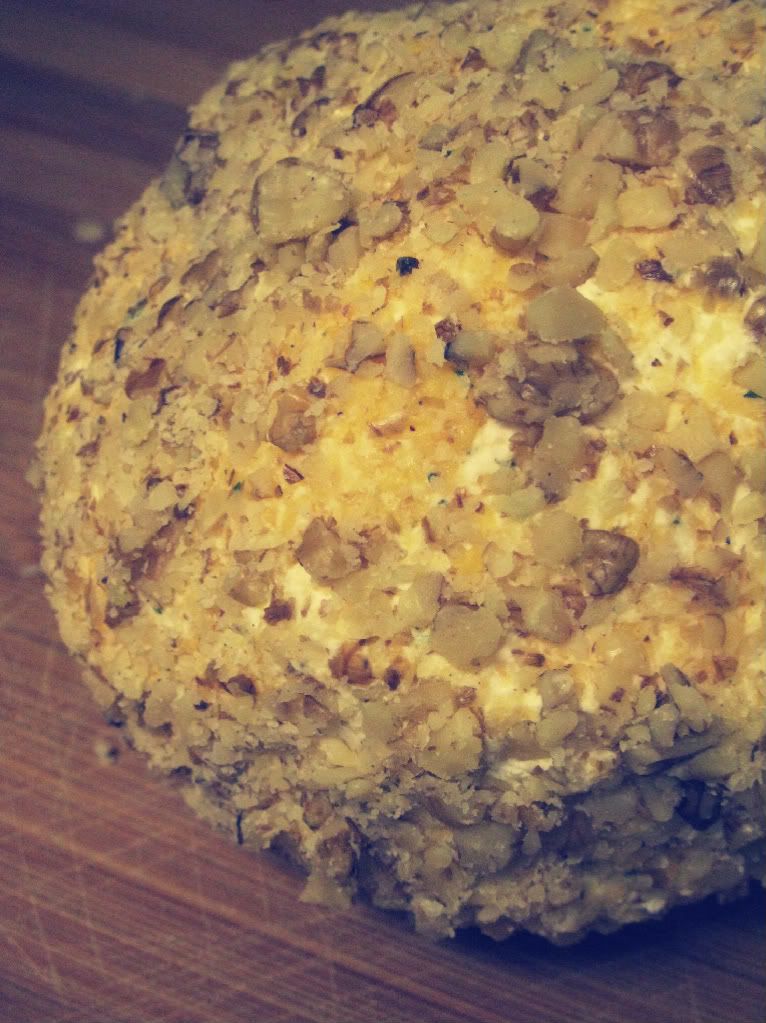
  Last Tuesday we had a staff meeting at work for which I made spice cake cookies with pumpkin frosting. Along with those I also made this fantastic cheeseball. I'm not sure where I found this recipe...


Super Easy Cheeseball

Ingredients
2 (8oz) packages cream cheese
1 (1oz) package ranch dressing mix
2 1/2 cups cheddar cheese
1 1/2 cups chopped pecans (or walnuts)

Directions. 
Mix first three ingredients together and form into a ball. Roll ball in chopped nuts. 

  Easy huh? The thing was pretty much consumed at the meeting and what was left Brandon and I devoured later that day.

Thursday, September 15, 2011

Trail Mix

  Instead of going to school today I went to a workshop all about teaching reading. As much as I do enjoy teaching, it was so nice to just sit and listen to someone else talk, use the bathroom whenever I wanted, and get to actually leave for lunch for an entire hour. I'm excited to go back again tomorrow and then put all I've learned into practice on Monday.
  The location for the training is near one of my favorite places, Dollar General. I stopped by there on my way home and was pretty pleased with my purchase.
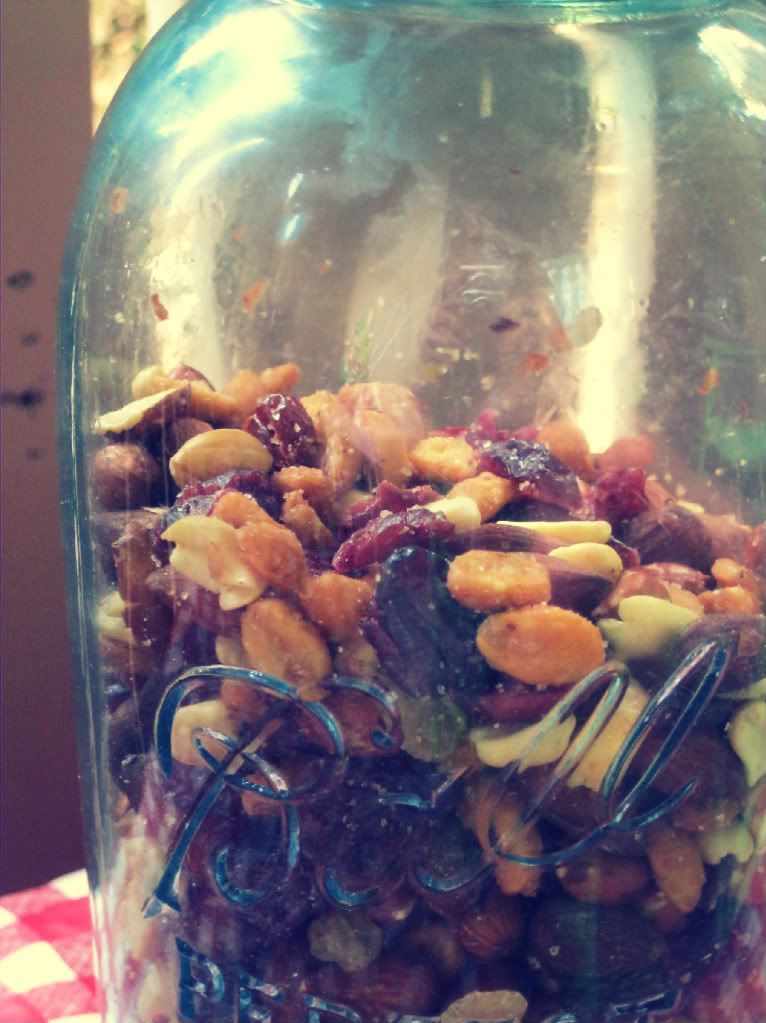
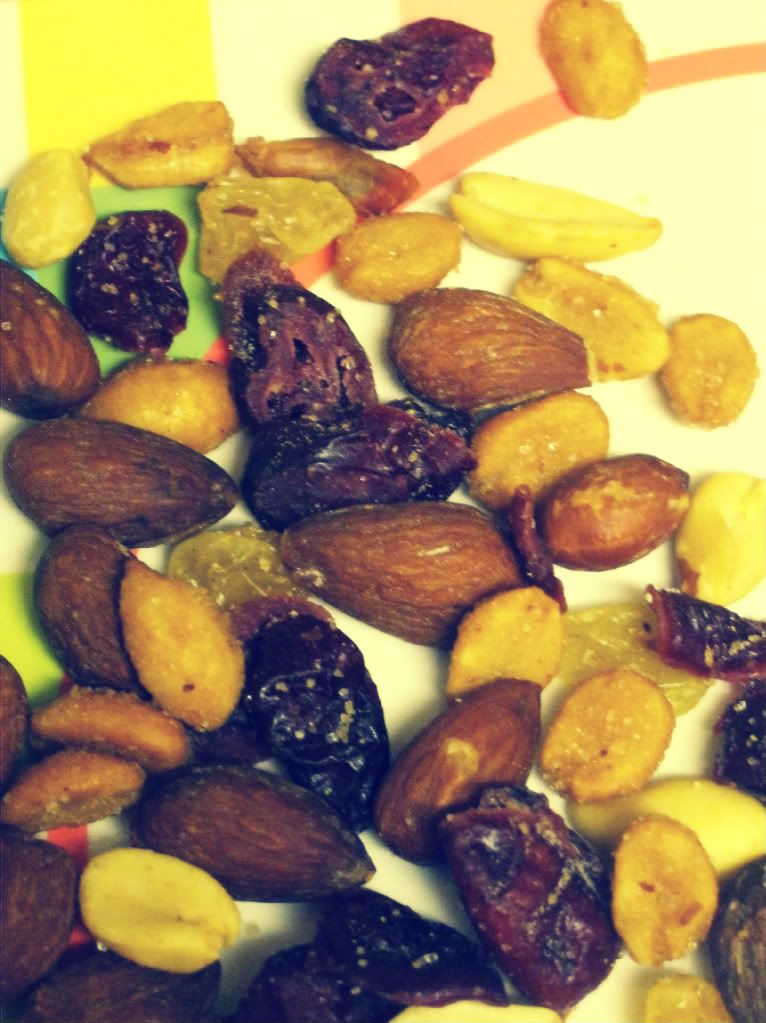
   Brandon and I love, love, love the "trail mix" types of mixes sold at The Fresh Market and Earth Fair but nine bucks a pound is a quite a bit to steep for us. Dollar General has great nut and dried fruit options so I gave in and bought a can of almonds, a can of honey roasted peanuts, a can of mixed nuts, a package of dried cranberries, and a package of mixed dried berries.


  For about five bucks Brandon and I now have a yummy jar of trail mix. 

Thursday, September 8, 2011

Guacamole Love

   I love reading Hidden Cupcakes, very much. It's become on of my daily reads, so I was absolutely delighted when the blogger behind it asked me to guest post. I love me some guacamole so I decided to share my first attempt at making it over there.


Wednesday, June 29, 2011

From my little Kitchen: Pizza Bites

   Last night Brandon invited a friend over for supper and to, of course, play video games. Pretty much all I ever make for supper is chicken. Different kinds of chicken, but still chicken. Guys like love pizza so I figured that'd be a promising route to take and Brandon was very enthusiastic about the idea.
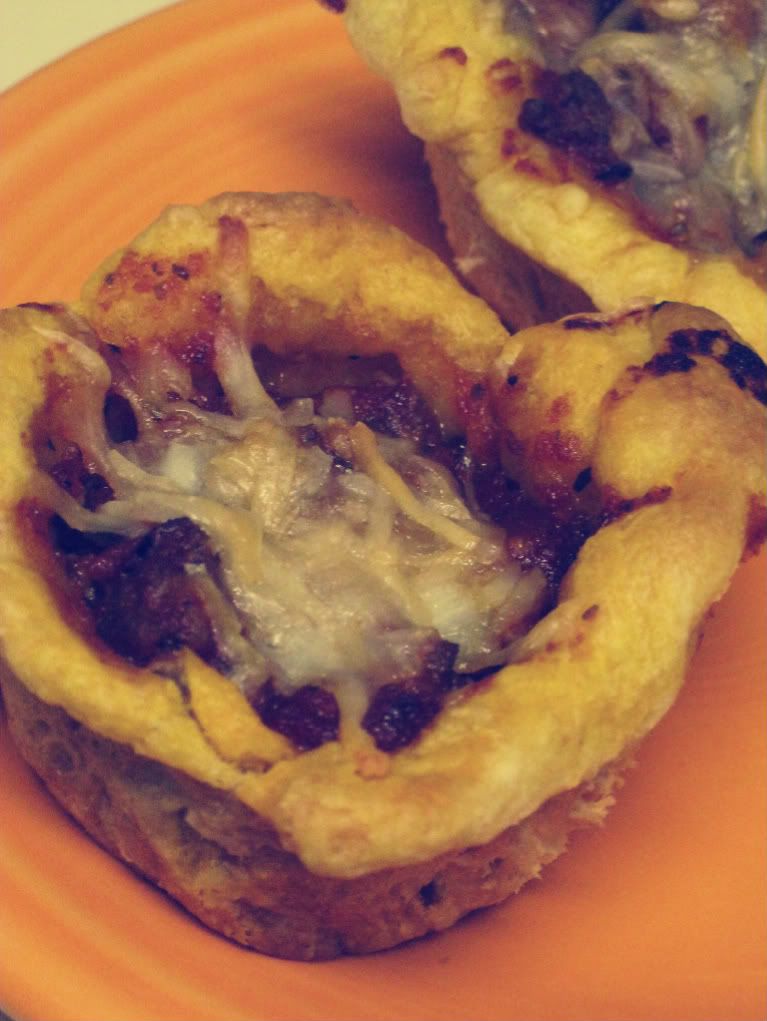
  We actually had these at our wedding and they were a huge hit. I lost the recipe though so I did it from memory and eyeballed the measurements. It's more fun that way.


Pizza Bites

Ingredients
 crescent rolls
 ground beef
 spaghetti sauce (pizza sauce or plain tomato sauce would also work)
 grated mozzarella cheese
 grated Parmesan cheese (optional)
 minced garlic
 Italian Seasoning

Directions
   Place ground beek in pan, add seasoning and garlic, and allow the meat to brown. Add sauce leave on stove until the whole mixture is heated.
   Roll out and flattened crescent rolls. Cut into squares and place each square into a compartment of a greased cupcake pan.
  Add meaty goodness to each little dough cup, top with cheese(s).
  Bake at 350 degrees until dough is cooked and cheeses melted.

Wednesday, February 23, 2011

Funfetti Oreo Cookies

  So remember yesterday how I said I'd be having some fun in the kitchen today?  I've had a wonderful time baking and Brandon's had a wonderful time eating. We're a good team. We have an early release day at school tomorrow and a meeting/going away reception for a dear teacher's assistant who will be leaving due to health reasons. We were all assigned to bring something tasty. This was my excuse for taking some time to create something delectable.
   After seeing these cookies, I knew that I had to make them, but add my own spin. Who doesn't love Funfettie cake??? There's something about sprinkles being scattered through the cake that makes it absolutely delightful and somehow taste even better. I decided I must create Funfetti Oreo Cookies adorned with butter cream frosting and sprinkles.

  To make these beauties I made the cake batter following the directions on the box, dipped the Oreos in the batter, placed them in a greased cupcake pan, and baked them at 350 for 10 minutes.


This poor little cookie broke in the cake batter and died...and then someone ate it.


The cookies were really delicious like this, but why would I pass up an opportunity to use frosting and sprinkles?


  Unfortunately, these cookies are so fantastically tasty I'm afraid I won't have as many to take to school tomorrow as I'd hoped. Brandon doesn't seem concerned about how many I have to take to school...


Saturday, February 5, 2011

Salted Caramel Peanut Bark

   Hello, hello! I feel like I haven't posted in forever. Probably because I pretty much haven't. This lack of posts was not due to laziness, but due to the fact that I haven't made or done anything exciting thanks to nausea and feeling down right crappy. I've been battling this nastiness since Tuesday. My week has been filled with going to school and laying on the couch. Wednesday I couldn't even go to school and just laid on the couch literally all day. It sounds relaxing and enjoyable, it wasn't. I do believe I'm finally getting better though. Thank goodness! So I decided to do a little creating in the kitchen tonight.
   This evening I created some Salted Caramel Peanut Bark. Ever since I made Peanut Butter Bark and Cake Batter Bark at Christmas, I've been dying to try some new combinations. My mom gave me this idea when she saw something similar to it at World Market (a store we both love).


Salted Caramel Peanut Bark Ingredients
8oz semi-sweet chocolate chips with 1T vegetable oil
8oz white chocolate chips with 1T vegetable oil
1c peanuts
caramel ice cream topping, enough to drizzle all over
1T coarse Sea Salt


  I followed the same technique as with the Peanut Butter Bark I made in December. First, I melted the chocolate chips and spread them out on a wax paper covered cookie sheet. Then I crammed that in the freezer.
Oh chocolate, is there any food more perfect?

  When the chocolate had hardened, I used my handy food chopper to chop up some dollar store peanuts and melted the white chocolate.

   I carefully poured the melted white chocolate on top of the  cold semi-sweet chocolate and sprinkled the chopped peanuts all over it. THEN I drizzled caramel ice cream topping all over my already perfect combination.

   Though I could have stopped here, I didn't. To finish it off I sprinkled a little course Sea Salt on top of this baby.

   I put the whole thing back into the fridge to harden. Then, in true bark fashion, I broke it up into jagged pieces.

   Now, I knew this combination was going to be good but whoaaaaa. This stuff is good almost beyond words. I'd intended not to taste it due to my last few days of illness, but I needed to truthfully be able to share with you all how it is (I'm willing to sacrifice a lot for my readers...hehe). Salty and sweet are such a fantastic combination and the peanuts add a perfect crunch. Thank goodness I'm not feeling well or I might be tempted to consume the whole darn tray:o)


Friday, December 3, 2010

The less time consuming cousins to the cake ball

   Tonght was the first official Christmas party of the season. For us anyway. It was my school staff party. I was excited when I received the email about this party because 1. we were going to play "Dirty Santa" (aka White Elephant), a Christmas classic, and 2. I was supposed to bring food. Yay! An excuse to make something yummy and out of the ordinary! I considered making cake balls again, but I really didn't have an entire day to dedicate to the cake ball creating process. My mom made these little tasties to share with her friends and said they were delicious and easy. Just the kind of creation I desired. She found the recipe in a Sandra Lee Semi-Homemade magazine. So, it's not an Anna original. I do not wish to receive credit and praise (but I won't turn it down if given). I felt that you all needed this recipe in your lives.

Cookie Balls

Ingredients
  • One package vanilla Oreos (the Target brand is WAY cheaper)
  • 8oz cream cheese
  • Chocolate chips
  • Sprinkles
Chop the cookies in a food processor or blender then pour in a bowl and beat in cream cheese with an electric mixer. When well mixed roll into balls and dip in melted chocolate. Add sprinkles while the chocolate is still hot. Place on wax paper to cool.
   While I was making these I realized I didn't have any wax paper and I refused to place the chocolate covered delights on plastic plates to cool like I did the cake balls. That was a dumb idea looking back. I found a box of cereal in our pantry, emptied the box into my husbands beloved cereal dispenser (the only gift he truly wanted to register for. It's growing on me.) I then ripped the empty bag down the seam and laid it on a cookie sheet to place the chocolate covered cookie balls on. 
   Everyone seemed to enjoy them and gosh they were easier than cake balls. My sweet husband said they were just as good. Thanks mom, and Sandra Lee :o)


Wouldn't they be perfect with a glass of milk for Santa?

Wednesday, November 24, 2010

Thanksgiving Cake Balls

     Cake balls are a big trend right now. No surprise. They’re delightful. What’s better than cake and icing rolled into a ball and dipped in chocolate? Um nothing. I had them for the first time when my sweet, and clever friend made them for my bridal shower. My husband is especially enthralled by them. Whenever we go to the Indie market here he leaves me with wreckless abandon and makes a b-line for the bakery stand selling cake balls left and right. Normally I think I'll have a tough time getting him to accompany me to the Indie market, but at the mention of cake balls, he’s ready and rearing to go. Knowing his love for these sphere-shaped tasties, I decided to make them for Thanksgiving at my parents’ house. 


   Here is my first cake ball journey...

I started with a Devil's Food cake mix and made a rectangular cake following the directions on the box. Easy peasy.

   When it came out I cut it up to cool some then crumble it all up in a bowl. 


   Then it was time to make the icing. It being Thanksgiving and all, I decided to make a some sort of icing with a pupkin flavor. Here's what I decided on:

Pumpkin Cream-Cheese Frosting

  • 1 package(s) (8-ounce) cream cheese, softened
  • 1/4 cup(s) pumpkin purée
  • 1/4 cup(s) (1/2 stick) unsalted butter, softened
  • 1 1/2 tablespoons orange juice
  • 1/2 teaspoon(s) vanilla extract
  • 4 cup(s) confectioners' sugar, sifted

  1. Blend the cream cheese, pumpkin purée, butter, orange juice, and vanilla in a large bowl using an electric mixer set at medium speed until smooth. Add the sugar and continue to beat until light and creamy -- about 5 more minutes.

  When the icing was done, I had a crumbled chocolate cake and some DELICIOUS frosting that needed to be mixed together.


   I poured the frosting in the bowl of cake crumbles, mixed it all up, and there it was, one of the most delicious combinations I have ever tasted and I wasn't even finished. I wish that I had immediately put this mixture into the fridge but instead I attempted to make a few balls out of it and dip them in melted chocolate. A horrible idea. My husband said they looked like animal droppings, which they did. So I put the cake and frosting combo in the fridge to cool for a while and made the chocolate to dip them in. 
  For the chocolate coating I used a combination of dark and bitter sweet chocolate chips I zapped in the microwave with a splash of vegetable oil. The oil helps to make the chocolate smoother. 
   After the dough had chilled and my chips were melted into smooth chocolate bliss I began rolling my cake balls, dipping them in chocolate, and setting them on plastic plates I sprayed with cooking spray (I refused to go buy wax paper though I know it would have made the whole ordeal easier. 


   When I filled up a plate I put it in the freezer for a little while and then the refrigerator. Upon getting up this morning I scrubbed dishes and straighten up the kitchen. After the cake balls were done my kitchen was an aggravating mess.


   The cake balls do look pretty they and taste so darn great. Only a few have sprinkles because I didn't realize I had these leftover sprinkles until I was almost done. 


   I hope my family enjoys these tomorrow because, as pretty and yummy as they are, the only time I'll probably ever make these again is when I'm old, retired, and have nothing but time to kill. In other words, they took a very long time to make. So, anyone out there who makes cake balls, especially as a job, I admire you. I love my husband, but after this, he'll only be getting cake balls from other people. 

Friday, October 15, 2010

Garlic and Rosemary

   It's Friday! Oh thank goodness. Though I know I'll work on school all weekend it's a relief to know that I'll be working at my own pace and can sleep past 5:30. I love my job, but who doesn't love time off??? Working in retail for so long I never realized the wonderous joys that weekends bring but now....oh, now I see why people celebrate Friday afternoons and savor their Saturdays, the reason people take slow Sunday drives and where the Monday blues come from.
   Normally I turn into a slug on Friday afternoons, dragging myself into the door to collapse on the floor, (or if I'm feeling energetic, I make it all the way to the couch), getting up long enough to eat and go to the gym, then falling into bed. Tonight, however,  I started this blessed weekend off with having my two dear, dear friends over. They are both wonderful and generous cooks. One made deeelicious stuffed mushrooms and yummy cookies and my other friend made chicken taquitos which were also fantastic.  I made some popcorn (totally lacking in creativity) and some very tasty seasoned nuts (recipe below). After eating and chatting we watched The Nightmare Before Christmas. This movie had always appeared to be just a little to creepy and frightening to me when I was a child. My mom shared these feelings and therefore, I never watched the love story of Jack the pumpkin King and Sally the Rag Doll until last year. My suspicions as a child were correct. The movie is creepy and perhaps frightening, but so delightful and I can't stop signing, "Here comes Halloween. Here comes Halloween. Halloween! Halloween!"


Seasoned Nuts:
9 oz. cashews
9 oz. almonds
18 oz. mixed nuts
Extra Virgin Olive Oil
Ranch Dressing Mix
Garlic Powder
Rosemary

Spread the nuts on a cookie sheet. sprinkle with Extra Virgin Olive Oil, dressing mix, garlic powder, and rosemary. Mix with your hands to ensure that all the nuts are coated.
Bake at 350 degrees for 10-20minutes ore until most of the oil has cooked off.
Allow to cool and serve!