Showing posts with label Decoupaging. Show all posts

Monday, July 18, 2011

Decoupaged bedside table

   Well friends, it's Monday. I hope you all had a really great weekend. Brandon was off Friday and Sunday we did some fun stuff. We took a little day trip, ate at Panera, went to church, went for a bike ride, watched too many episodes of Pawn Stars, and just enjoyed some quality time together. Saturday, since Brandon had to work, I spent a lot of the day at my parents working on a painting project and sewing pillows. My mom let me use her sewing machine and gave me lots of help. Lots of help. I'll be sharing my lovely pillows soon.
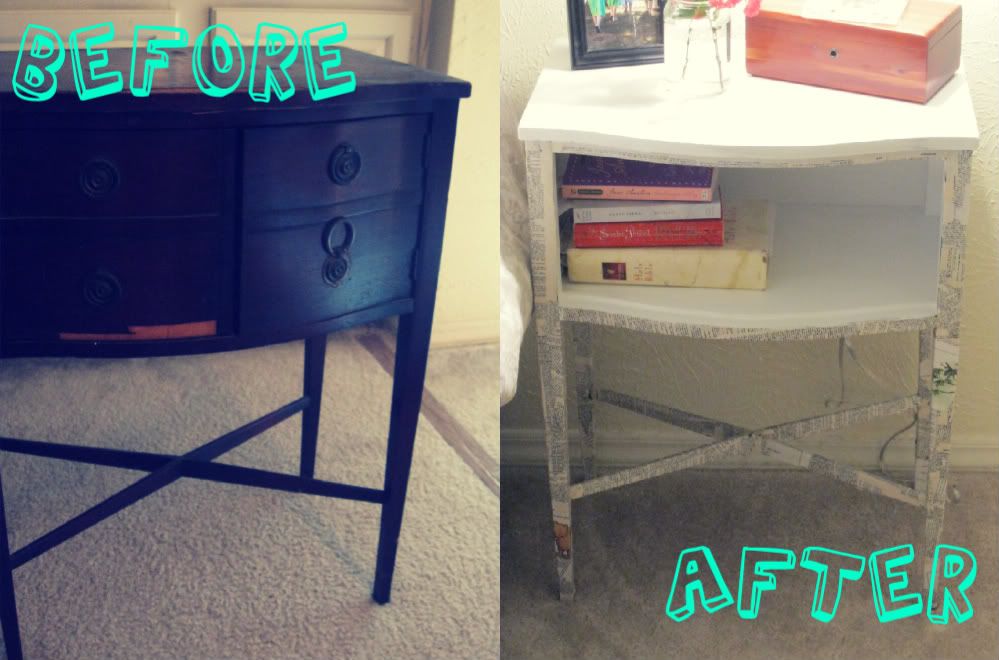
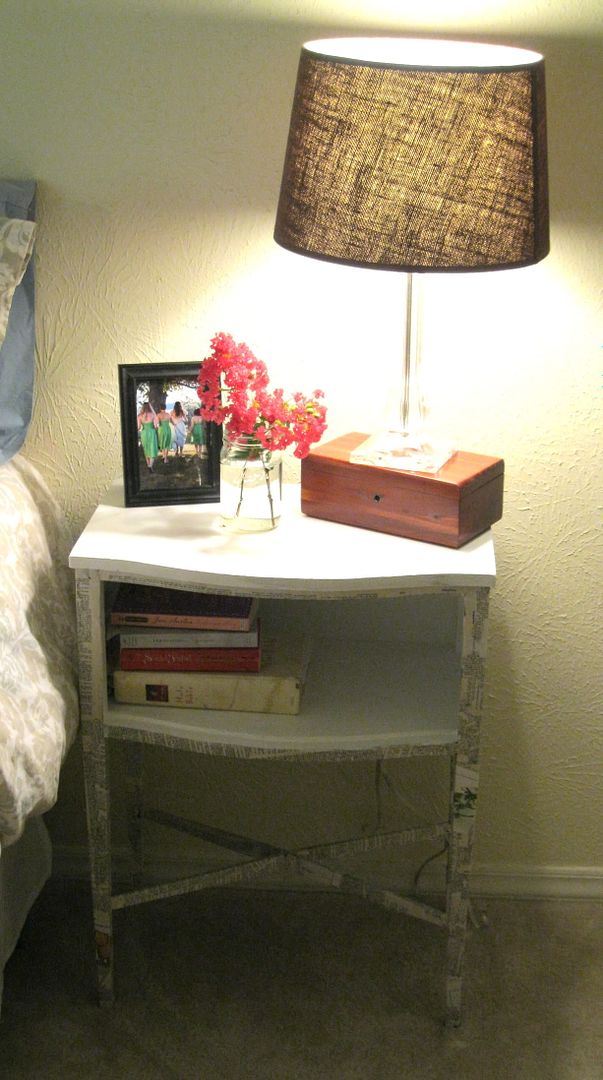
   Before I went over to my parents' Saturday, I finally finished my bedside table project.


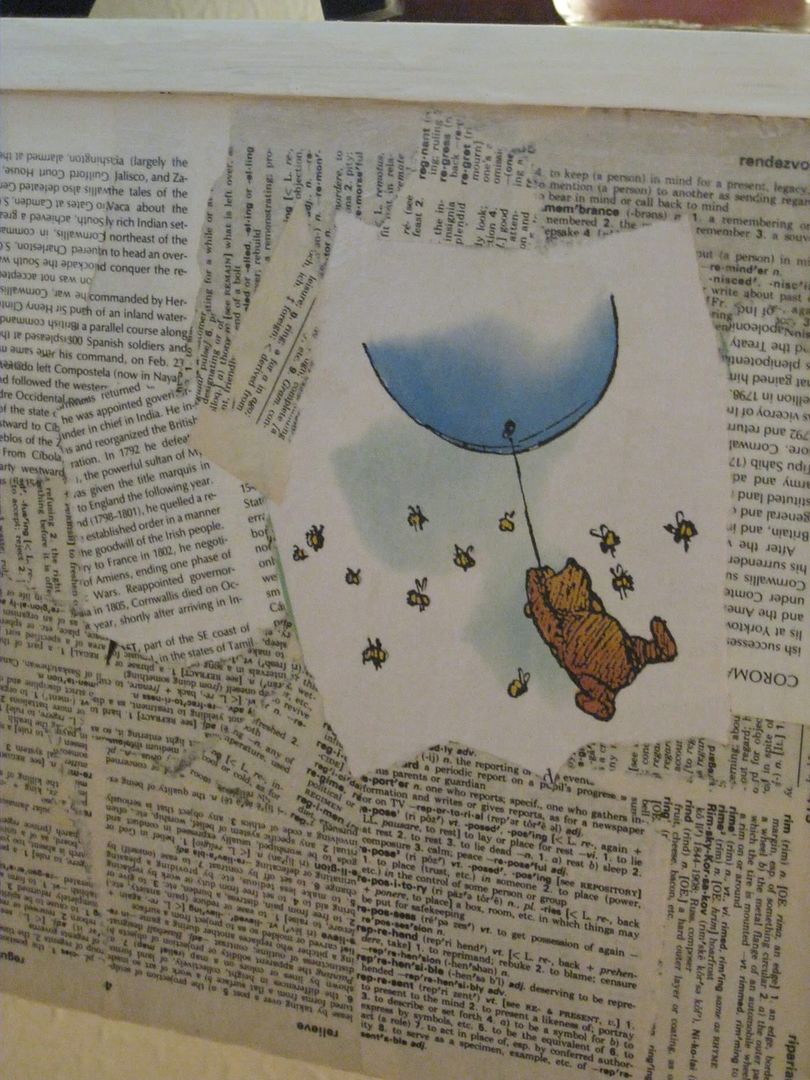
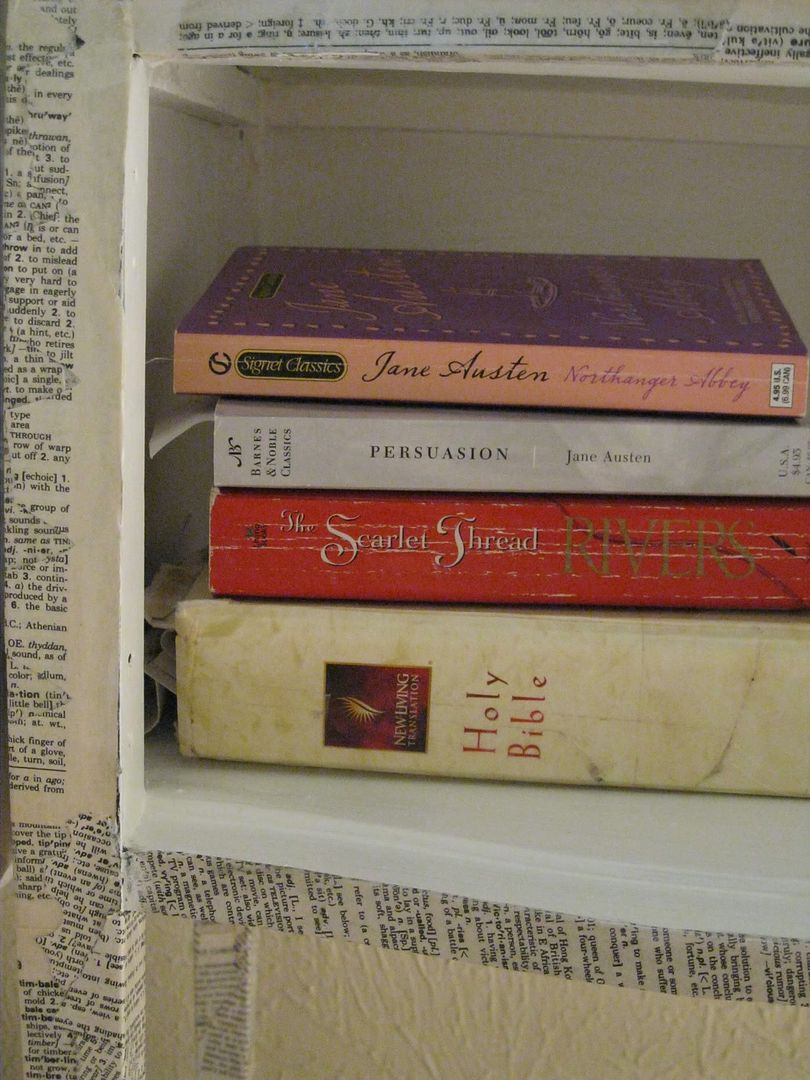
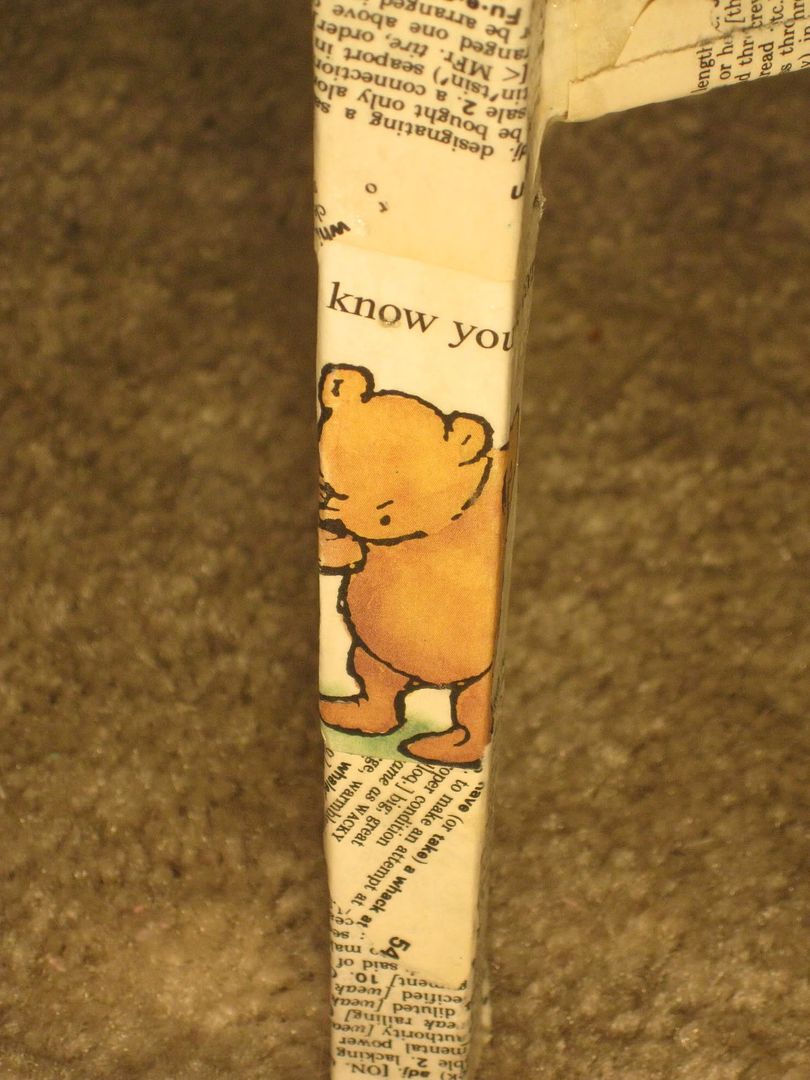
   My mom and dad found this table on the side of the road and picked it up, knowing I was in need of a bedside table. I removed the doors because they were annoyingly hard to open, painted and primed the top and inside, and decoupaged the rest with some cheap used books I recently bought. 


   Somehow while I was decoupaging I ended up with glue on my arms, legs, and hands, which then ended up on the refrigerator, the door to our apartment, and my car steering wheel. Ridiculous. I'm really happy with how my little table turned out and am ready to move onto beautifying Brandon's beside table :o) 


Saturday, April 30, 2011

Decoupaged Flower Plate

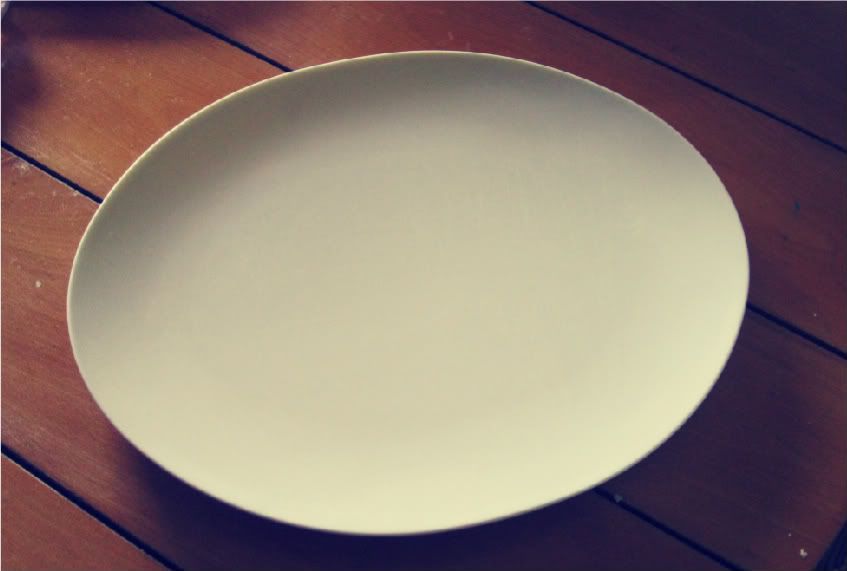
   I haven't decoupaged anything in a while. Why? I guess I just haven't had any reason too I suppose. With the Indie Market fast approaching I've been thinking about how I wanna display my stuff. I decided that some sort of large plate or tray would be good for my hair clips. I went to Goodwill today and found nothing the least bit pretty on which to display my wares. I finally settled on an oval plate for 99 cents that looked like it might have a bit of potential, you know, with some decoupaging ;o)

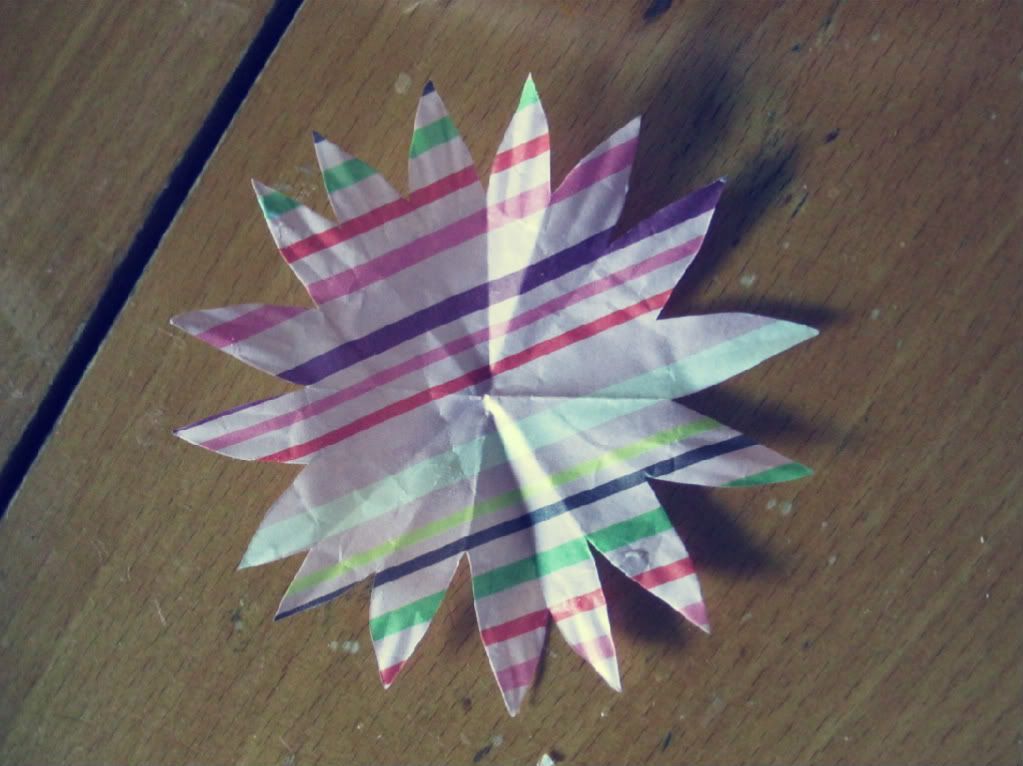
   I didn't have any pretty fabric or paper to use so I cut flowers out of the lovely cupcake liners I bought to make flowers a while back. 

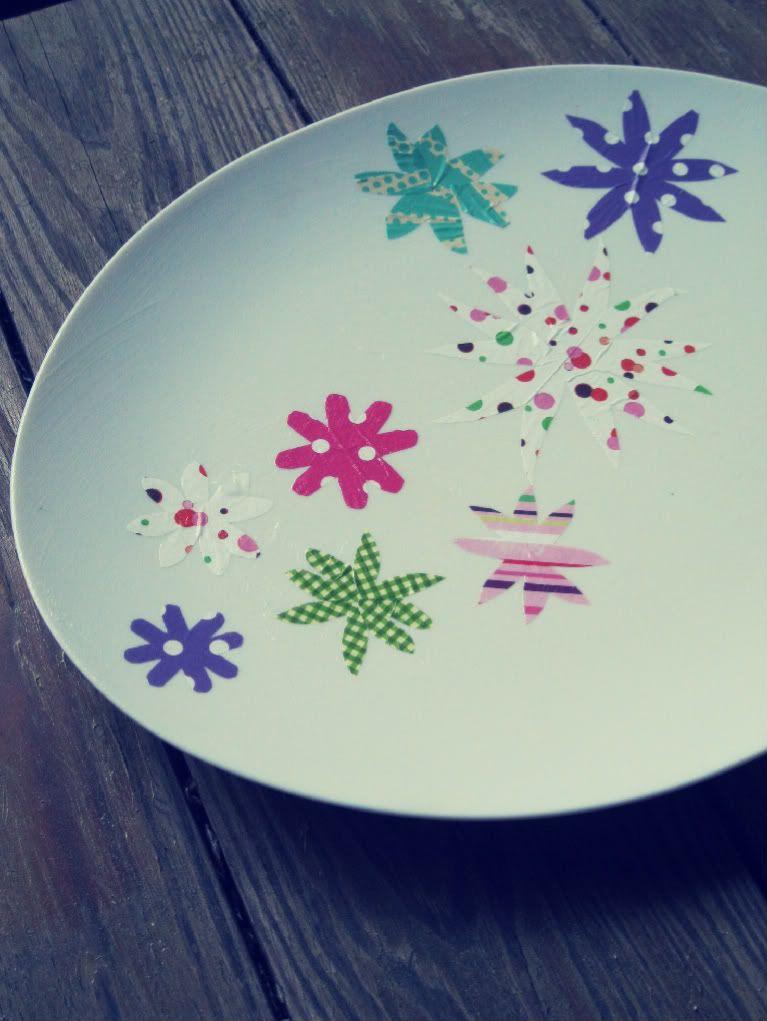
   Then I used my beloved Mod Podge to add them to the plate.

   So now when people buy up my hair clips (which I really am hoping happens) my lovely plate will be displayed.

Sunday, February 13, 2011

Cake Balls in an Embellished Box

   Though after Thanksgiving I swore I'd never make any again, Friday night I decided to make some lovely Red Velvet Valentine's Cake Balls. I'd had a Red Velvet cake mix in our pantry for a while with no specific plans for it so I figured, why not whip up some festive cake balls? I used the directions on the back of the box to mix up the cake. When I poured the batter into the pan I thought "Hmmm that's weird this cake doesn't look red at all." but I thought that maybe it would turn more red once it was cooked. Where'd I come up with that one? While the non-red Red Velvet cake was cooking, I was looking for something in our pantry and saw a box of Red Velvet cake mix. "Did I have two boxes of this stuff?" I picked up the box that had held the cake mix I'd used, the same box I'd just read directions off of and stared at for the last 10 minutes. When I turned the box over I realized I'd used the chocolate cake mix I'd bought for my Valentine's day cake. Come on Anna. I did finish my cake balls and though the inside is not red and festive, they're still pretty darn delicious.

   I gave some of these chocolate babies along with some Salted Caramel Peanut Bark and Valentine's Cake Batter Bark to my parents in a box in a special box. 

I embellished this one the same way I did the other two.


Thursday, February 10, 2011

Embellished Valentine's Candy Boxes

   Tomorrow is Friday! Thank the good Lord for weekends. This has been a very busy, but really enjoyable week. Today was a long day due to the fact that our school had portfolio night tonight. I was worried that being at school until 7 was going to be soooo long, but the hours flew by (we had a two hour delay this morning which helped a lot) and it was nice to get some stuff done. We had 13 kids come to share their masterpieces and progress with their parents this evening and it was so enjoyable to see the kids so proud of themselves and their work and get to talk to the parents about their precious little ones I've been entrusted with. Tomorrow's the 100th day of school, so much excitement this week!
   In other news, Valentine's Day is Monday so it's high time I share a Valentine's craft project right?

Do you like my valentine's candy box?

   I was inspired by some decorated heart candy boxes I shared on "Enchantment Tuesday" a few weeks ago. I loved the idea, but I've always found the candy that comes in those heart shaped boxes to be kind of a waste of calories, so I decided to make my own candy boxes...and my own candy perhaps?

  I began my project with Christmas boxes I found on clearance. Oh yes, they were a good find. Thank you AC Moore. Now if only you weren't on the other side of town...
   
   I decoupaged the lids of the boxes. One of them I covered with leftover wedding doilies and the other I covered with dictionary pages.

   My cheap lil glue gun hasn't let me down yet. I love dollar store ribbon.

   I added LOTS of embellishments. The more the better right? Doilies, hearts, buttons, ribbon....


   These really turned out pretty well if I don't say so myself. Now, wouldn't filling them with Valentine's Cake Batter Bark, Salted Caramel Peanut Bark, and a few other homemade (preferably chocolate) treats make a perfect gift? Uh, hech yes that'd be perfect :o)
   Happy Friday friends!

Saturday, November 13, 2010

"The 25 Posts of Christmas" Gift No. 1

   There's only 41 days until Christmas! Time to start thinking about gifts right? I'm actually shocked that I'm thinking about them this early, I'm more the type that waits until the week of. This year is different, however, I plan to make as many of the gifts I give as possible (excluding the video games my husband wants) and making gifts takes more time and more planning ahead than grabbing something at Target. In lue of my decision to make most of my gifts, I've decided to have something here at Blissful Whimsy called "The 25 posts of gifts." For each of the 25 posts I will feature a gift idea I have had and made or a great one that I find somewhere else. If you have a great handmade gift idea please submit it! I decided to start this now because waiting and starting December 1st and doing one every day of December would be too stressful, and since handmade gifts take longer, posting an idea on Christmas Eve wouldn't be very helpful. I'm so excited about the gifts ideas I'll be sharing starting..today!

Decoupaged Dictionary Candle Holders

Supplies

  • Mod Podge
  • Old Dictionary pages (or any other thin paper)
  • Glass candle holders
  Step 1. This morning I hit up Dollar tree and found these glass candle holders. I love the shape. 


Step 2. I brushed one some Mod Podge, just a small section at a time.

Step 3. I tore small pieces of pages out of my reliable Goodwill Dictionary (I have gotten so much use out of that thing) and laid them over the wet Mod Podge. Then I dipped my finger in the Mod Podge and smoothed it over the paper, especially the edges.

Step 4. Finally, I made sure all the edges were glued down and the whole thing was covered with Mod Podge and I set it on a paper grocery bag to dry. I used the grocery bag and it didn't stick to my project and ruin it like annoying newspaper has a tendency to do.


  After it's all dry place a candle inside, wrap it up,  and give it away :o)

Monday, October 25, 2010

Pretty Plates

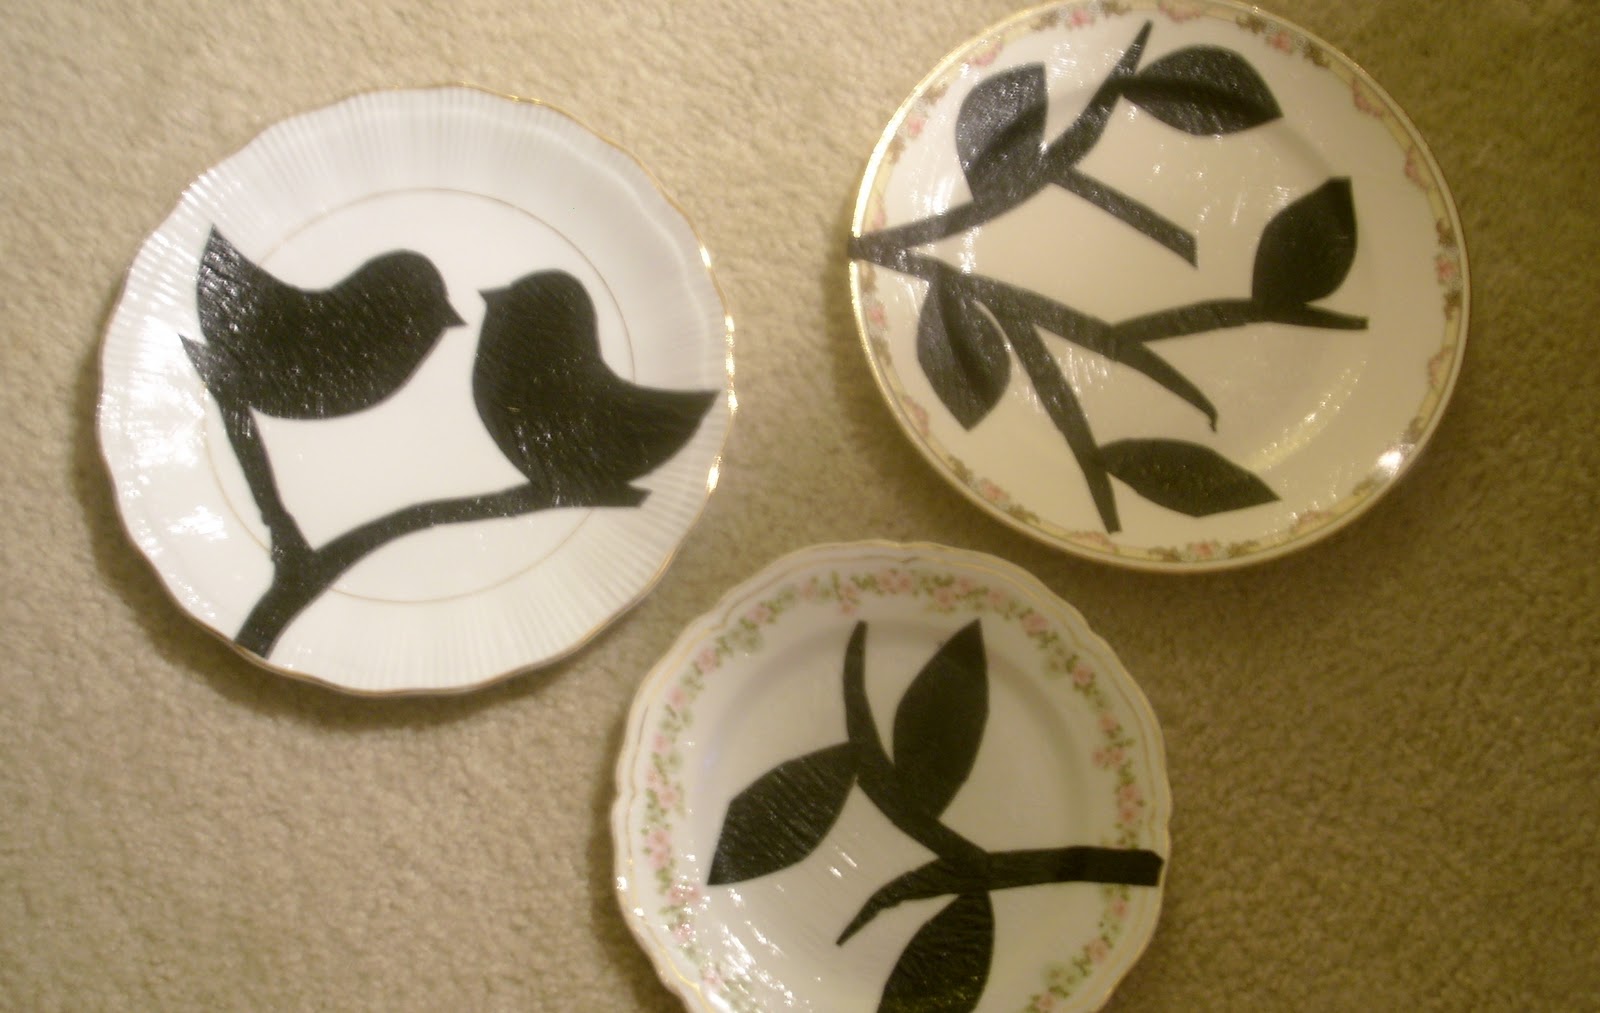
   Hello and happy Monday once again. Time to start another week. Bring it on. It's 5:50am which may seem like an awfully early time to be posting, but I'm just sitting here eating breakfast so why not type between bites? Plus, I'm just so excited to share my latest project. Like I said yesterday it involved three pretty Goodwill plates, Mod Podge, a plastic basting brush, and black party napkins from Dollar Tree. Here is the end result:


   So what do ya think? I'm pretty pleased with how they turned out and the fact that they're one-of-a-kind. I got my inspiration from Frugal with a Flourish. She always has such pretty inexpensive projects. Now, Here is how I crafted these babies. 

Decoupaged Plates
  • Mod Podge
  • Plates
  • Black party napkins
  • Foam brush (I didn't want to go to the store so I used a basting brush from our kitchen)
  • Scissors
   I began by wiping down the plates with Clorox wipes so ensure that the Mod Podge wouldn't have dirt in it and to kill any germs that the previous owners may have left. You just never know...Then I cut my birds out of the black party napkins using a stencil I'd made from a Christmas greeting card and freehandedly cut out the branches and leaves. I used party napkins because the Dollar Tree didn't have any black construction paper. After my pictures were cut out I covered the plates in Mod Podge, laid my pictures on them, and covered my pictures with more Mod Podge. I just love how they turned out. I plan on hanging them up on our wall of frames. I'll definitely show pictures when that focal point wall is complete. My husband says that he thinks plates hanging on walls are really weird, but he's a good sport and is going to put up with having plates on his walls. 

My tools

I was distraught when I discovered that Dollar Tree had no black paper but, I'm learning to improvise.

Wet glue


All finished